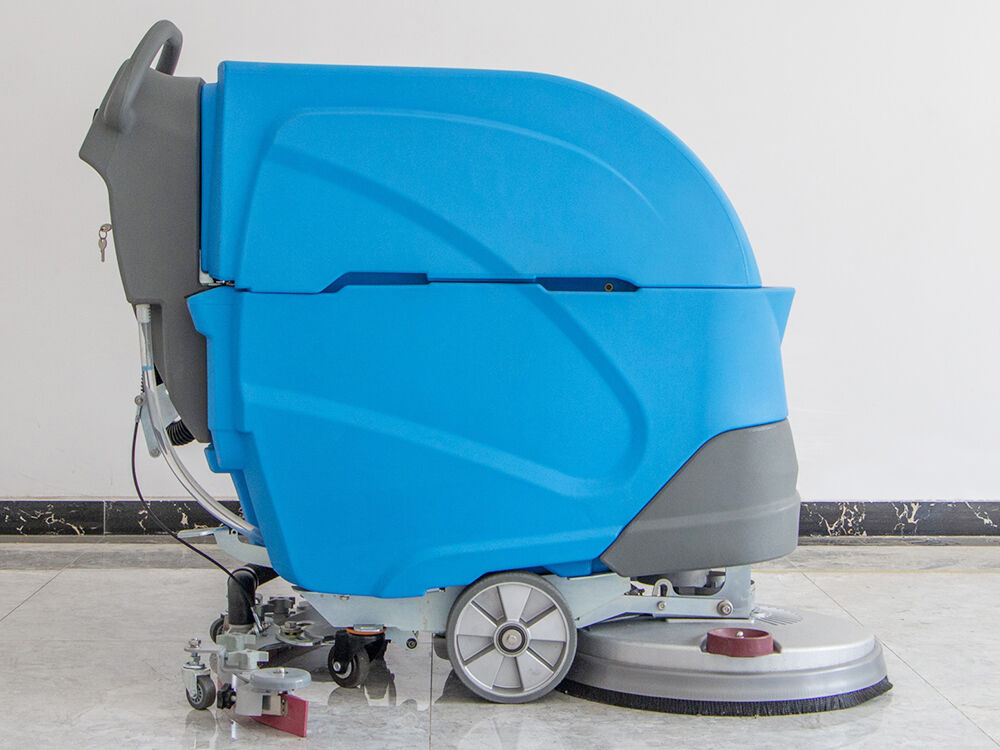
Floor scrubbers—especially electric floor scrubbers—have become indispensable tools for deep, time-saving cleaning in commercial spaces (like retail stores and office buildings), industrial warehouses, and even large residential complexes. Unlike basic floor sweepers that only remove loose debris, floor scrubbers combine scrubbing and suction to eliminate tough stains, grease, and grime from tile, concrete, vinyl, and other hard floor surfaces. To maximize cleaning efficiency, protect the machine, and ensure operator safety, following the correct usage steps is critical. Below is a comprehensive, step-by-step guide to operating a floor scrubber, along with key tips to enhance performance—plus insights into how our full product line (including electric floor scrubbers, electric sweepers, and more) supports all your cleaning needs.
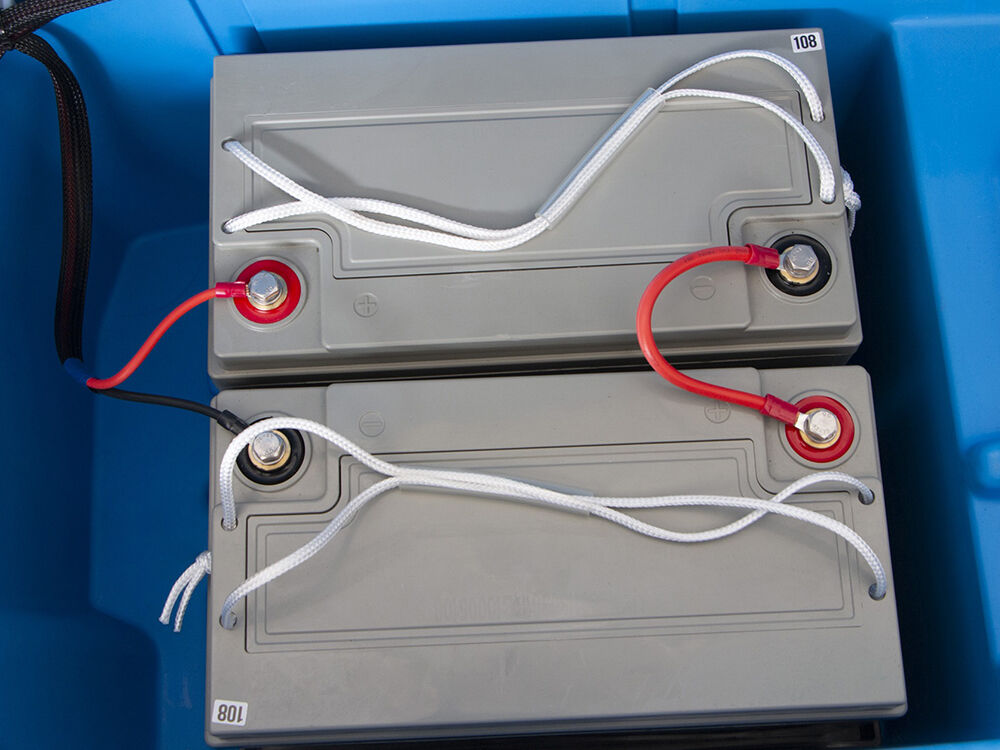
Before turning on the floor scrubber, always perform a quick pre-inspection to avoid mid-cleaning malfunctions—this is especially important for electric floor scrubbers, which rely on battery power. First, confirm the machine’s battery is fully charged (or connected to a reliable power source for corded models) and check that there are no visible damages to the power cord, switches, or external components (like the brush head or suction scraper).
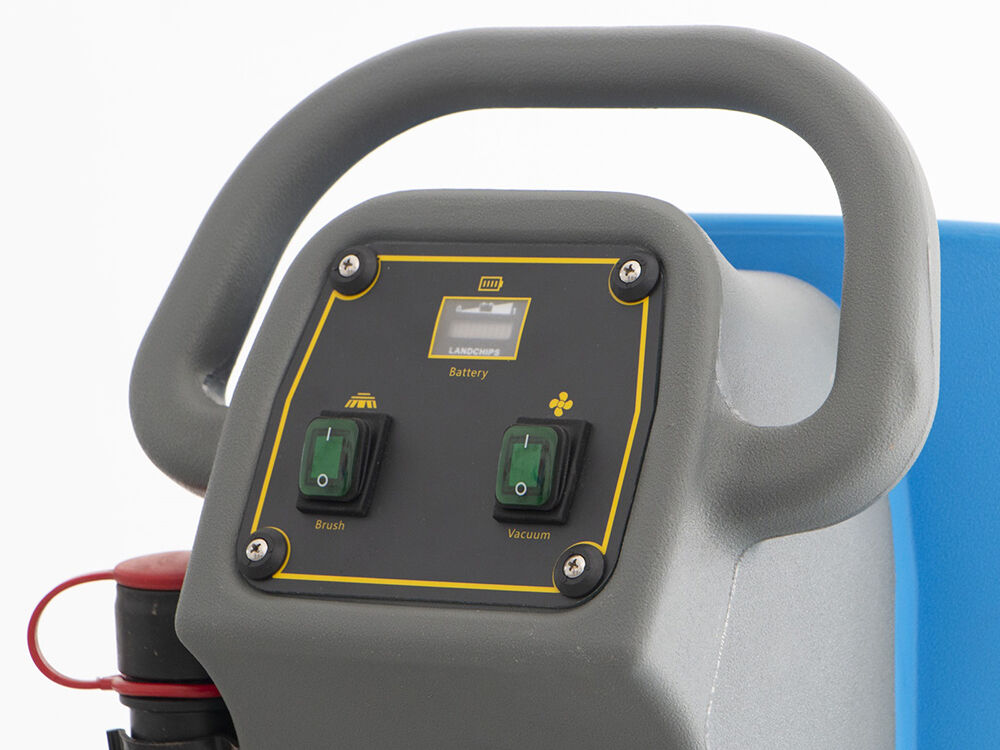
Once the pre-check is complete, locate the power button—typically on the front or side of the control panel—and press it to turn on the machine. You’ll know the power is active if the control panel lights up (e.g., battery level indicators, mode selection lights). This step ensures the machine is ready to receive commands for subsequent operations, preventing unexpected shutdowns while cleaning.
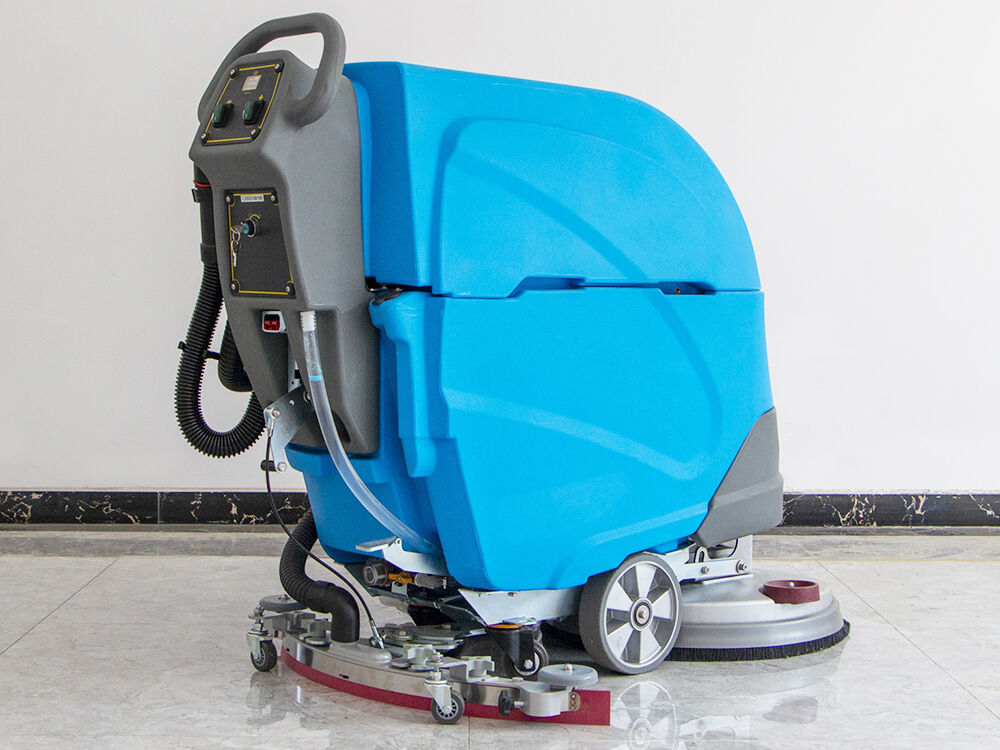
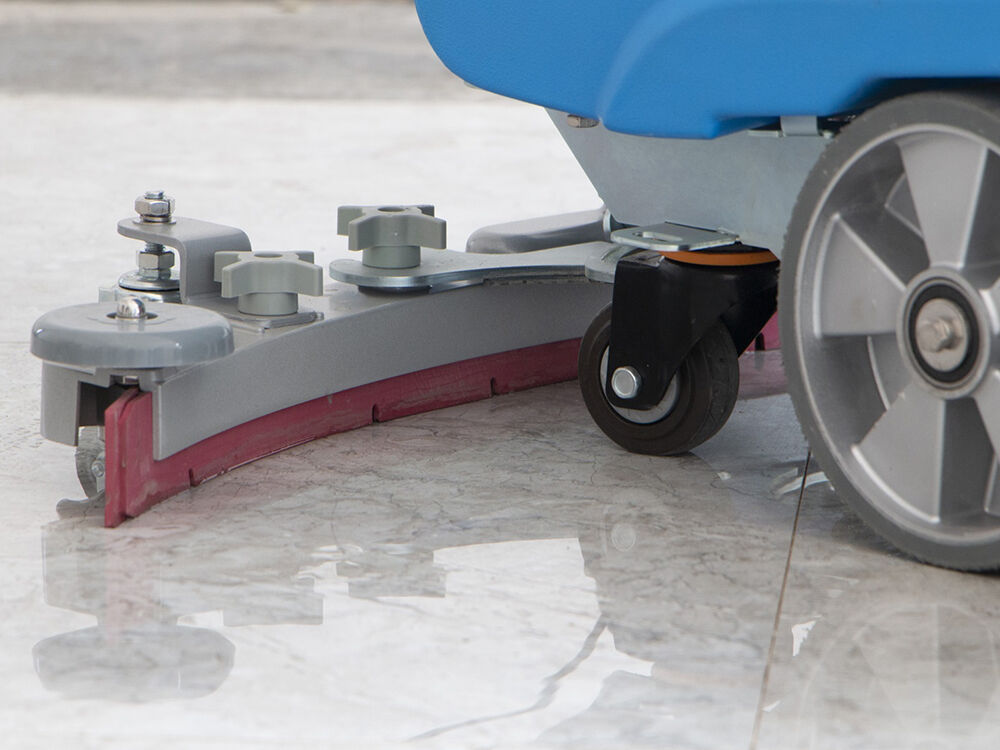
The suction scraper (also called a squeegee) is a critical component that collects wastewater and loosened debris during cleaning, preventing recontamination of already cleaned floors. To lower it:
(1)Locate the lifting rod attached to the suction scraper—this rod is usually positioned at the rear or side of the machine for easy access.
(2)Slowly pull down the lifting rod until the suction scraper component sits flat on the ground. Avoid pulling too forcefully, as this can bend the rod or damage the scraper’s rubber edge (which ensures a tight seal with the floor).
A properly lowered suction scraper creates a vacuum seal, ensuring all wastewater from the cleaning process is sucked into the machine’s recovery tank—this keeps floors dry and safe for foot traffic immediately after cleaning. For uneven floors (like textured concrete), double-check that the scraper’s edge is making full contact to avoid missing wastewater spots.
The brush head is responsible for agitating and removing dirt, so proper positioning is key to avoiding uneven cleaning or premature brush wear. Follow these steps:
(1)Find the brush lift pedal, which is typically located on the upper right side of the machine’s base (within easy reach of the operator’s foot).
(2)Press the pedal gently to release the brush head, allowing it to lower slowly to the ground. Do not let the brush head drop abruptly—this can crack the brush disc or damage the floor surface.
After lowering, confirm that the brush head is evenly touching the ground. For most floor types:
(3)Nylon brushes (for general cleaning) should have slight pressure on the floor (you’ll feel minimal resistance when moving the machine).
(4)Stiff-bristle brushes (for heavy-duty dirt like grease or industrial grime) can be pressed slightly more, but avoid over-pressuring (this wears down bristles quickly).
If you’re using an electric floor scrubber with adjustable brush pressure, set it based on your floor type—consult the machine’s manual for model-specific recommendations.
The control console is the “command center” of the floor scrubber, so adjusting it to your comfort and activating the right motors ensures a smooth cleaning experience:
(1)First, adjust the console’s height and angle to an ergonomic position. This reduces operator fatigue during long cleaning sessions—ideally, your arms should rest comfortably at your sides when reaching for switches.
(2)Next, turn on the brush disc motor switch (labeled “Brush Motor” on most panels). You’ll hear a low hum as the brush head starts rotating—this indicates it’s ready to scrub.
(3)Then, activate the suction pump switch (labeled “Suction” or “Recovery Pump”). The suction pump will start pulling wastewater into the recovery tank, working in sync with the brush head.
For larger areas (like warehouse floors), use the machine’s speed control (if available) to set a steady pace—too fast, and the brush won’t have time to remove tough dirt; too slow, and you’ll waste time. Remember: electric floor scrubbers often have variable speed settings, making them more flexible than manual models for different space sizes.
Controlling water output ensures you use just enough solution to clean effectively without wasting water or leaving floors overly wet. The process varies slightly based on your cleaning needs:
(1)For regular washing (e.g., daily cleaning of office lobbies or retail floors), locate the solution flow control knob (usually on the console, marked with “Water Flow” or “Solution”). Turn the knob to your desired water output—start with a medium setting, then adjust based on dirt levels (more water for visible stains, less for light dust).
(2)For heavy-duty cleaning (e.g., industrial floors with grease), you can increase the water flow slightly, but pair it with a cleaning solution (approved for your floor scrubber) to boost stain removal. Avoid using too much water, as this increases drying time and risks slipping hazards.
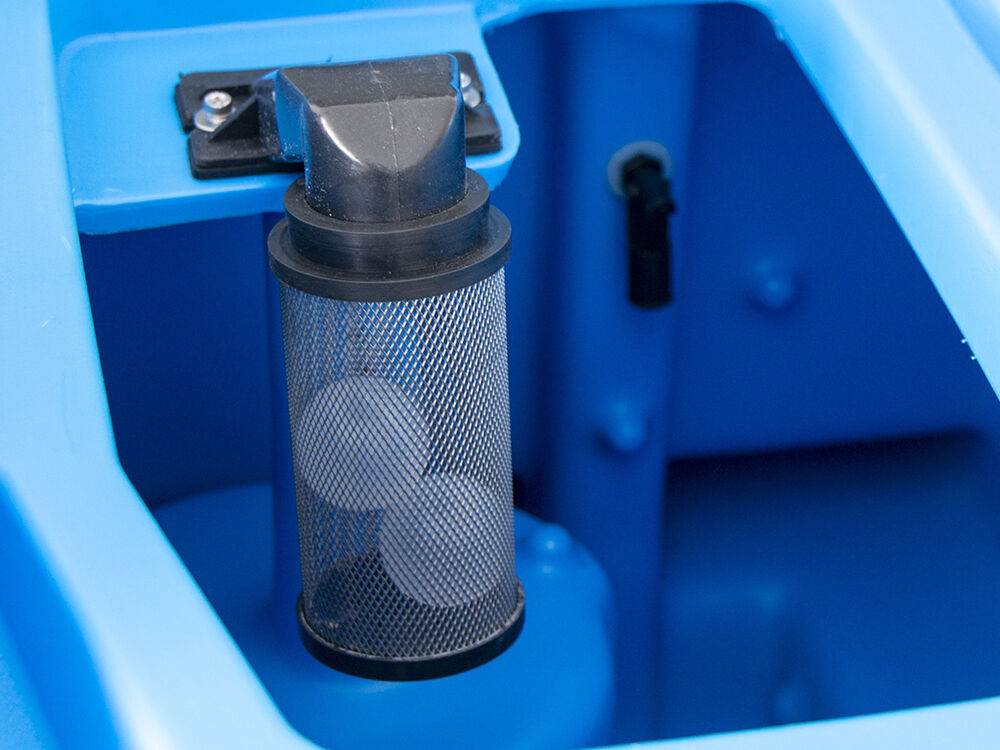
Always use clean, filtered water to prevent clogging the machine’s water lines or nozzle—this is especially important for electric floor scrubbers, as clogs can damage the water pump over time.
When you’ve finished cleaning (or need to pause), follow these steps to shut down the machine safely:
(1)First, close the drain valve (located on the recovery tank) to prevent wastewater from leaking during transport or storage.
(2)Next, lift the brush head by pressing the brush lift pedal again—this raises the brush off the floor, stopping scrubbing.
(3)Then, lift the suction scraper by pushing up the lifting rod until it’s locked in the raised position.
(4)Finally, turn off the brush disc motor switch, suction pump switch, and main power button.
After shutdown, perform a quick post-clean check: empty the recovery tank (to prevent mold growth), rinse the suction scraper’s rubber edge (to remove debris), and inspect the brush head for tangled hair or string (which reduces scrubbing efficiency). For electric floor scrubbers, recharge the battery after use to ensure it’s ready for the next cleaning session.
(1)Pair with floor sweepers first: For floors with large amounts of loose debris (like leaves or sand), use a floor sweeper or electric sweeper to remove debris before using the floor scrubber—this prevents the brush head from clogging and improves cleaning speed.
(2)Model-specific notes: Always read your floor scrubber’s user manual for details unique to your model (e.g., brush replacement intervals or solution compatibility).
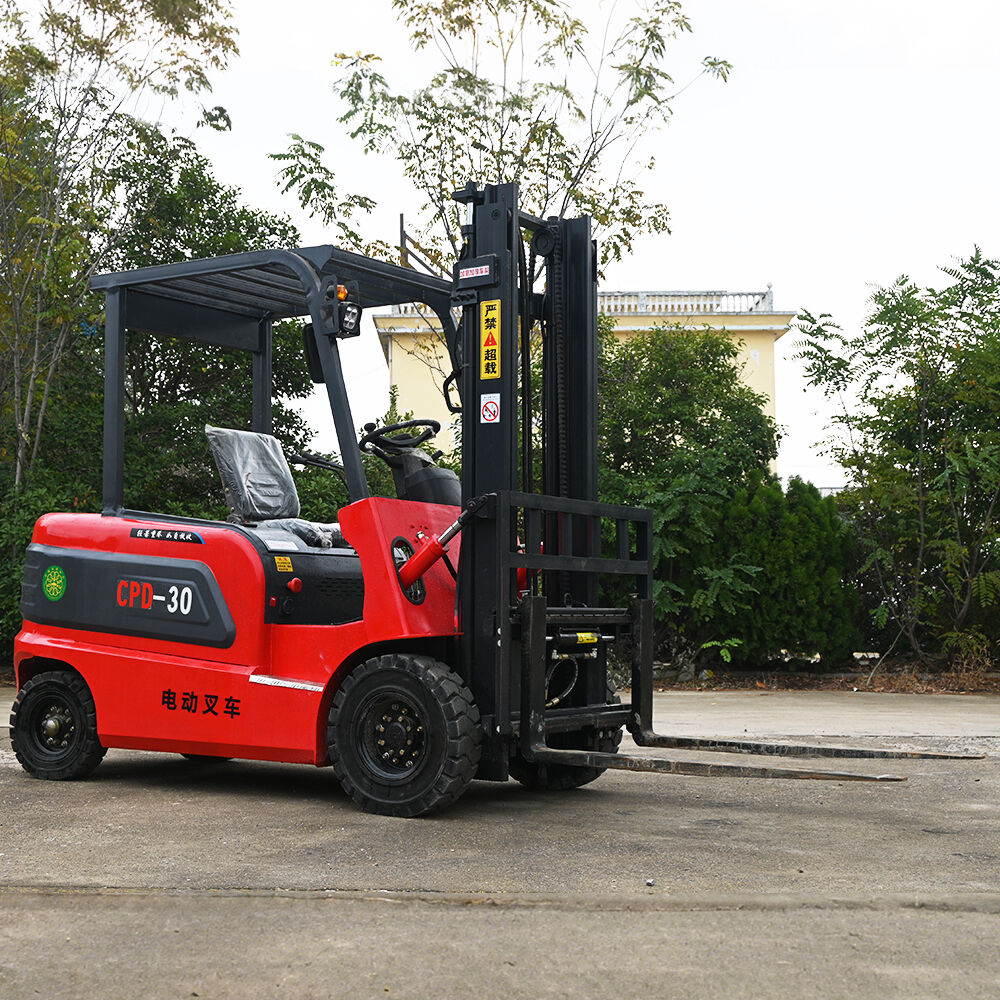
(3)Explore our products: Beyond floor scrubbers and electric floor scrubbers, we offer a full line of cleaning and material-handling equipment: electric sweepers for quick debris removal, electric forklifts and electric stackers for warehouse logistics, and lawn mowers (including remote control lawn mowers) for outdoor maintenance.
By following these instructions, you’ll extend the life of your floor scrubber, achieve consistent cleaning results, and keep your spaces safe and spotless. If you have questions about operation or need support, our team is ready to assist—contact us for personalized guidance.
 Hot News
2026-01-16
2025-10-03
2025-10-02
2025-10-01
Copyright © Shandong Laite Machinery Co., Ltd.@2025 - Privacy Policy